2026 Top Pipe Coupling Clamp Types for Global Buyers
A Pipe Coupling Clamp may look like a small fitting, but its choice can affect alignment, sealing, and maintenance across an entire pipeline. For global buyers, the right option depends on pipe material, outside diameter, pressure range, service temperature, and installation conditions. A clamp that fits a steel line may not suit a plastic or lined pipe. Details matter.
This guide compares common coupling clamp types, including rigid, flexible, repair, and heavy-duty designs. It also considers materials, gasket options, corrosion exposure, and practical installation needs. A few millimeters can matter. So can the space available for a wrench.
A reliable expert quotation cannot be attributed without a verifiable source. Rather than invent one, this introduction uses a clearly labeled editorial principle: “Match the clamp to the pipe, the pressure, and the conditions it will face.” That is useful, but not a substitute for project-specific engineering review. Buyers should confirm dimensions and performance data with manufacturers before ordering. Catalog descriptions can leave gaps. That deserves a second look.
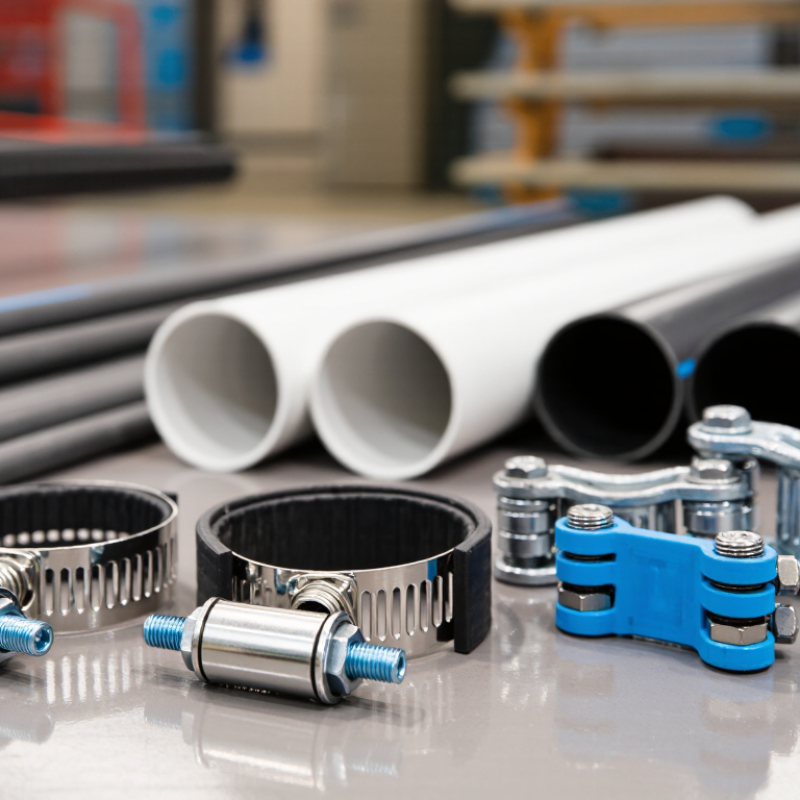
Pipe Coupling Clamp Types: Rigid, Flexible, Repair, and Restraint Designs
Pipe coupling clamps join, seal, or stabilize pipe sections, but their designs serve different needs. A rigid coupling keeps aligned pipe ends firmly connected and limits movement at the joint. It suits installations where alignment is controlled and movement is handled elsewhere. Check the pipe outside diameter, working pressure, and compatible materials before installation. Small measurement errors matter.
Flexible couplings allow limited angular or axial movement, depending on their design. They can help accommodate vibration or minor settlement, but they do not replace proper supports. Repair clamps wrap around a damaged section and compress a sealing element against the pipe. For a reliable fit, inspect the pipe surface, measure the damaged area, and confirm the clamp’s rated service conditions. A clamp may not suit every leak or pipe material.
Restraint designs help resist separation where pressure or changing loads could pull joints apart. Their grip and installation requirements vary, so follow the product’s technical instructions and verify that connected pipe materials are suitable. In the field, a clean pipe surface and evenly tightened fasteners make a noticeable difference. Still, choosing the right type can be less obvious when movement and restraint are both concerns. Check the system design rather than guessing.
Grooved Coupling Basics: AWWA C606 Joint Profiles and Sealing Principles
Grooved joints connect pipe ends through a defined groove profile rather than threaded or welded ends. AWWA C606 covers groove and joint requirements, which must suit the pipe material, size, and service conditions. The coupling housing’s keys seat in the grooves and transfer axial loads to the pipe. Fit matters.
Sealing comes from an elastomer gasket compressed around the pipe ends, not from the metal housing alone. Gasket lips contact clean pipe surfaces and bridge the gap between ends. Internal pressure may help energize some gasket designs, but correct selection and installation remain essential. Confirm fluid compatibility, temperature range, and pressure rating in approved product data. A gasket that looks seated may still be twisted.
Profile choice affects movement. Rigid couplings limit angular and axial movement, while flexible designs allow controlled deflection within stated limits. Groove form, gasket shape, and housing work as one system; mismatched components can cause leaks or unwanted restraint. Before assembly, check groove diameter, width, depth, and edge condition with suitable gauges. Remove burrs and debris, use lubricant only as specified, and tighten bolts evenly to the installation criteria. Small details matter. Document measurements and inspect joints after pressure testing; a rushed visual check is not enough.
Clamp Materials: ASTM A536 Grade 65-45-12 Ductile Iron Properties
For global buyers comparing pipe coupling clamps, ASTM A536 Grade 65-45-12 provides a clear material benchmark. ASTM A536, Table 1, specifies minimum tensile strength of 65 ksi (448 MPa), minimum yield strength of 45 ksi (310 MPa), and minimum elongation of 12% for this grade. These are standard test-bar values, not a guarantee of identical performance in every casting section.
The figures describe a balance of strength and ductility. In service, a clamp may face bolt preload, vibration, and small alignment errors. Ductile iron can accommodate some deformation before fracture, but the grade alone cannot establish a coupling’s pressure rating. Wall thickness, casting quality, bolt design, gasket choice, and the connected pipe all matter. Small details matter.
For procurement, request material certificates that identify the grade and show traceable test results. Compare the specified test method and specimen details, too. A high strength number can look reassuring, yet it says little about corrosion protection or installation quality. ASTM’s material data is a useful starting point, not the whole assessment; buyers should review the complete assembly specification and its stated service conditions.
Sizing Clamps: NPS 2 Pipe Has a 2.375-Inch OD (ASME B36.10)
For global buyers, NPS 2 does not mean a pipe measures 2 inches across. Under ASME B36.10, NPS 2 steel pipe has a nominal outside diameter of 2.375 inches, or 60.325 mm. Its schedule changes wall thickness and inside diameter, not this listed outside diameter. Check the standard carefully.
That number matters when choosing a pipe coupling clamp. A rigid split clamp, repair clamp, or other coupling must suit the pipe’s outside diameter and the connection design. “Two-inch clamp” on a quotation may refer to nominal pipe size, not the clamp’s exact gripping range. Ask for the specified diameter range and gasket limits before ordering. Small mismatch, real trouble.
Field conditions deserve a second look. Paint, a protective sleeve, corrosion, or ovality can affect how a clamp seats. Measure a clean section with calipers or a wrap tape, and compare the result with the clamp’s stated range. For a coated pipe, confirm whether the coating stays in place beneath the gasket. That detail is easy to miss.
ASME dimensions provide a sound starting point, but they do not replace checking the actual pipe and clamp together. A quick trial fit can reveal uneven contact or bolt misalignment. I would not rely on the nominal label alone.
Pressure Selection and Inspection: Verify Ratings and Installation Torque by Model
A pipe coupling clamp should be selected by its rated working pressure, not appearance or bolt size. Check the exact model against pipe diameter, material, and operating temperature. A rating for one pipe configuration may not apply to another. The complete assembly matters, too: the clamp, gasket, and connected pipe must all suit the service conditions. Use the lowest applicable rating when components differ. This detail is easy to overlook.
Before installation, compare the model number and pressure rating with the current technical sheet. Look for readable markings, damaged threads, distorted bands, and gasket cuts. Then follow the torque value specified for that model; there is no safe universal number. Use a suitable calibrated torque wrench and tighten in the sequence stated by the manufacturer. Too little torque can allow leakage, while too much may deform parts or damage the gasket. Small errors matter. After tightening, inspect alignment and confirm the joint sits evenly. If the clamp has been reused or its history is unclear, pause and verify suitability rather than relying on feel alone. That step can be rushed. It deserves a second look.